Monday, April 22, 2013

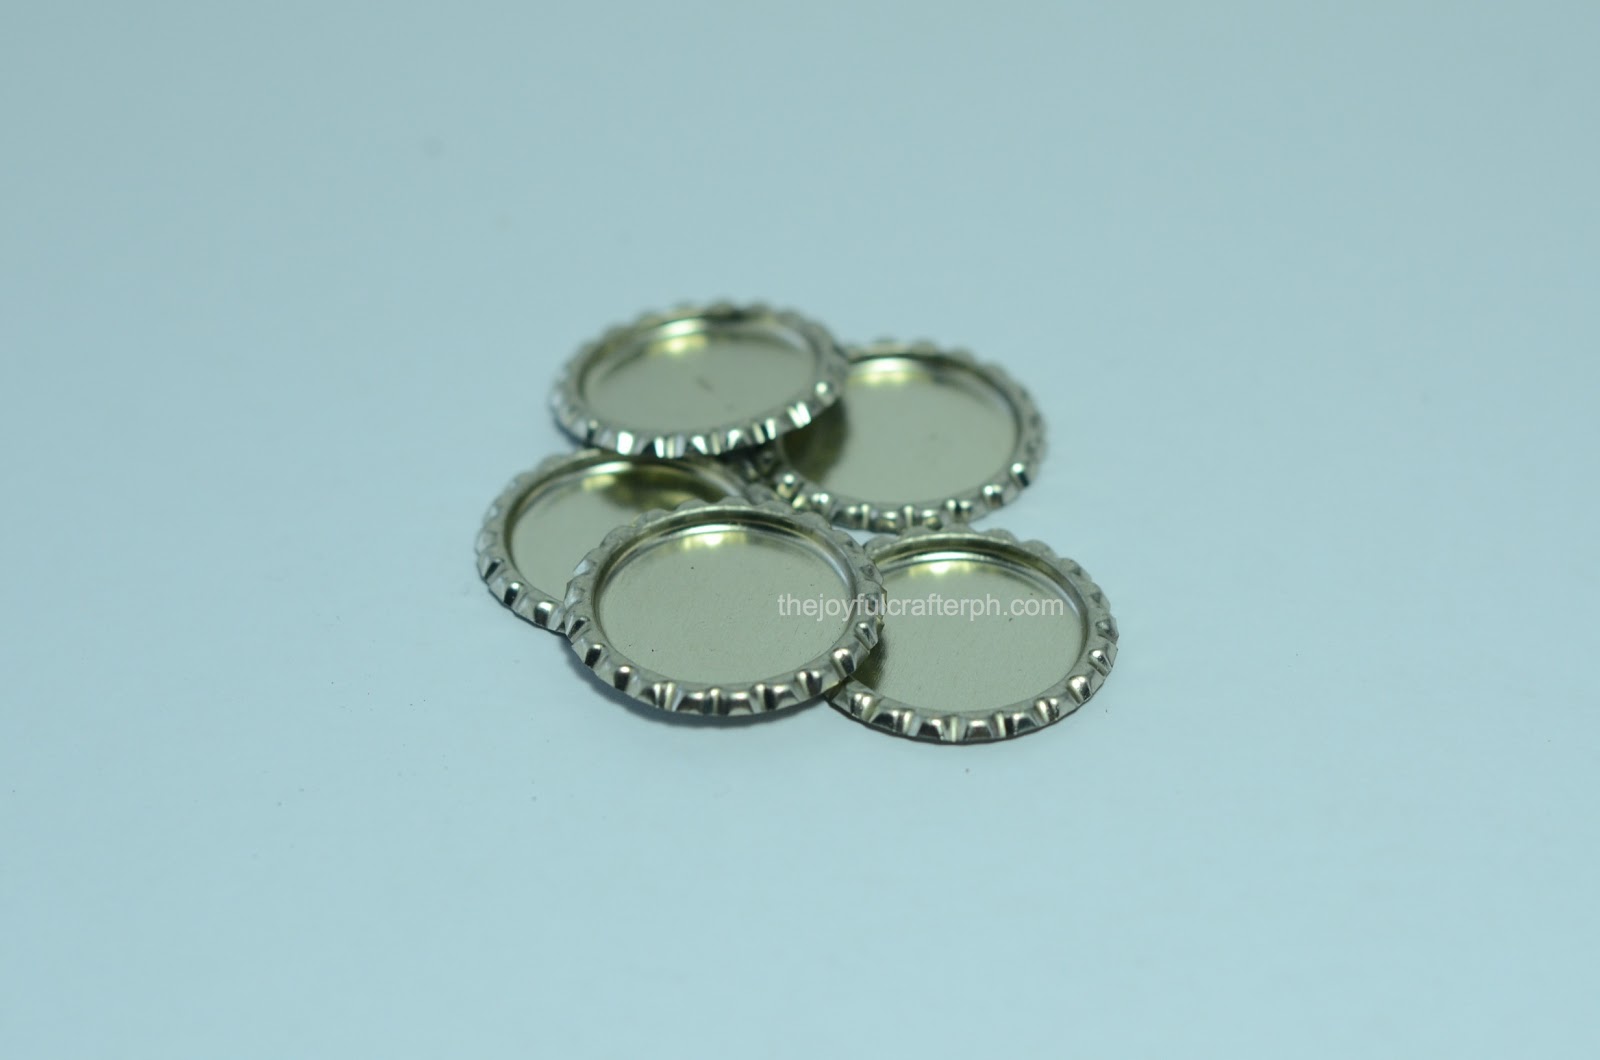
Bottle Caps!

by Rachele Burke
by Jen Chesnick

Who knew bottle caps can look this cute?

It's rare that I see bottle caps of this kind nowadays. I would've collected more of them if only I knew that they can look this awesome... So I'm glad to know that even if there aren't much drinks using this kind of caps now, there are online shops where I can get them -- minus the soda! At least I wouldn't have to keep looking and drink up lots of sodas just to have them. Just imagine if I needed 50 pieces... oh boy the calories!!!

Here are some bottle cap samples given to me by my friend Lovelyn of Claytoons.. 

They come in different designs...
The picture above shows n-flat while the ones below are the flat bottle caps...
And there are small sizes too!

You can also purchase epoxy domes that you can use for a glass or resin like finish.

I can't wait to use all my colourful bottle caps and come up with really cute projects!
Will post them up as soon as I'm done... I just need to find a quick time to sneak out from my little one so I can go to my craft room and do this. But do check back every now and then to see what I came up with, kk? 

Oh! And before I forget, I might carry these supplies in my shop pretty soon too! I will announce when I decide to do so. 


Tuesday, March 26, 2013

Loot


Look what Mr Postman delivered just recently?

I'm so excited when Christi announced the release of her new book, Flourish.
I've been looking forward to this for months!
So when I found out that it's already out, I couldn't wait and went ahead place the order online.

I also added some gears cos I'm planning to make more steampunk projects once I get back to claying, plus three of her most awesome tools!

I'm ecstatic... can't wait to use them all!
But for now, must go back to feed my baby.


Saturday, March 23, 2013

{Workshop} Trinket Tales!

Have a look at these projects...

photos c/o Trinket Tales

They're all so lovely and made perfectly, don't you agree?

I just love Trinket Tales creations! 
It's like she has these magical hands that whatever she sets her hands to create instantly turns into something very beautiful!

If you personally know me, you'd know that I choose the workshops I take very seriously.
I want to be able to take a certain course from the best teacher there is...
And to decide whether to join a workshop or not conducted by Ghie is a no brainer -- it's 101% a GO!

This is why even if I'm not really a morning person, more so is fond of doing long travels if its not for vacation trips or joy rides... together with two of my clay friends, I had the strong will to wake up super early and set off to Angeles City, Pampanga last March 10, 2012 to attend a workshop with Ms Ghie Malig, the pretty and super creative woman behind Trinket Tales.

When my friends and I decided to have the workshop, I got very excited and immediately sent a personal message to Trinket Tales' FB account. Ms Ghie replied at short notice and we were able to finalise everything. Talking to her reminds me so much of my 1st clay mentor, Rocky of Rockybeads, for me they do have a lot of things in common -- they're both very kind, warm and easy to talk to. She also asked me of the things me and my friends would like to learn out of the workshop, which for me is a very important quality in a teacher.

Now here's a couple of photo I took with my friends during our stop over on our way to the venue...


Cherry & I


Thina & I


And here's the list of the topics we requested to learn:
*Cuff
*Flower embellishment
*Locket
*Resin
*Steampunk
*Surface treatment


If you're starting to wonder how the workshop went, let our photos speak for itself:


Mentor wise I can say that Ms Ghie is one of the best there is!
Not only was she able to help us improve our crafts but she made sure that we enjoyed the whole time we were there too!

Aside from the lunch she prepared, she also made this uberly yummy cookies for us...
It was so yummy that I had to ask her if I can order for my family, haha!

Now here's us while working...

You see all those serious faces? Oh don't be fooled... We were all having such a grand time during the workshop -- laughing!

And on to the juicy part -- our creations...

All of our projects, together.

A closer look at each of the projects...
Embellished lockets
Surface treatment + resin (Pavelka gloss)
Steampunk heart
Flower embellished cuff
Lesson wise, it was very well prepared.
We were able to cover everything we came there to learn! Ms Ghie was able to make what seemed too complicated for us to do so easy. We came home overflowing with new learnings!

I, and I'm sure both my friends too, really learned a lot!
The long travel and money for the travel + workshop fees spent were all totally worth it!

So if you want to experience it yourself and learn as much as we did OR if you're not interested in clays but would like to own a one of a kind accessory, then head on to her site HERE.


I give this workshop a 5/5 stars.


Monday, February 18, 2013

Steampunk!!!

I've had the Steampunkery book of Christi Friesen for quite some time now... 
If I remember it correctly, the book has been with me for almost a year or even more than that!
I even purchased really expensive gears from Purplenook, which she got all the way from the US, in the hopes that one day I'll also get my hands into steampunkery!

I never really had the guts to make a steampunk project, well except for the cuff and heart we did when I had my workshop with Ms Ghie of Trinket Tales... Oh! I'm going to write about that so you have to watch out for it! ☺ 
I really had fun working on those projects! It's like an intro to steampunk too.

But despite the small background, I never really mustered the courage to create one. Needless to say, it took me several months to even a year...

Until last Sunday afternoon.

Since I wanted to make something nice and extra-ordinary for my very sweet and supportive doctor, which I'll be bringing with me on my next check up, I thought of making something she wouldn't normally see sold elsewhere... I decided to make a steampunk project!

So I grabbed CF's book from my shelf, chose a project, gathered my tools and started from there...

And this is what I came up with...

What do you think? Was I able to give justice to my CF inspired project? 

For a 1st try, I'd say it's not bad. I actually think it's lovely, haha!
I hope to improve more on this and create lots of projects too.

This by the way has a pin at the back but can also be worn as a pendant. 
I'm not sure if my doctor is into wearing necklaces with pendants like this, moreso made of clay, so I attached a pin to it at the back so she can use it with her scarfs.

Now I'm excited and really looking forward to my next check up -- this time I've got two reasons to be excited about: #1 my baby's check up + ultrasound and #2 handling her over this handmade gift from me! 

Hope she likes it! シ 

ArtNouveauPh Exchange Gift 2013

This theme was supposed to be our group's Christmas exchange gift project. 
But since all of us were busy during the holiday season, I suggested we do the exchange gift in time for the Chinese New Year, which happened to be February 10 this year, and I'm glad that they all agreed.

I had a little challenge finishing this locket... not because of the project itself but because during the days I was working on this one, I've been having so much contractions that I had to set it aside and work back on it on days my body feels a whole lot better.

But though late, I'm happy I was able to finish it.
I'd say that this is a simple locket but made with so much love and patience...


and here's how it looks like with the chain...

It's a locket decorated back-to-back. 
I just took a photo of it opened so I can let you see how the front and back looks like. 

Really hopes my monita likes it as much as I enjoyed creating it! 

Sweet Treats!

Hello everyone! How've you been? 
It's been such a long time and I really miss updating this site... However due to my current condition where I was asked to go on complete bed rest thus the absence, I've no other choice but stay in bed.

But every now and then, even little by little, I try and get my hands on clay (I know, I'm kindda hard-headed..) yet I make sure that I follow all safety measures such as not doing the baking part myself, wearing protective gloves and masks, etc. and really listen to my body to make sure I don't put harm on the baby. I find it really hard to do nothing!

A couple of weeks ago I managed to get back on my working table and did some little cutesy stuff -- I made CUPCAKES! And was I so happy to see my lil girl's eyes glisten seeing little cute cupcakes. 
She LOVES cupcakes!

Here take a lookie: 

Now here's a more close up shot of each of them...
This was inspired by Jill of Beadlady. 
I think she's the one who first made cupcakes with roses on top. I really admire her when it comes to making miniature cupcakes... they all look amazingly yummy!

With this one I made use of my purchased petal cane from one of my very talented mentor, Jen of Purpleluggage. I really love her canes!!! She makes them real well... indeed the master of canes!
So pretty, right?


Now the following cupcakes you'll see below I just played around with decorating... no particular inspiration, just pure imagination.


All cupcakes were made using my Nendo polyclay. I love that they're a little rubbery in terms of finish, not afraid of bumps -- since they'll end up being used as charms. 

And as per my work, I really think I need more practice to perfect my cupcakes...
I'll try to make more of them. 


How about you, what have you got on your working table?

Sunday, December 30, 2012

A Wedding MTO

It was my first time to make a wedding lasso (cord) for a couple getting married. 
It scared me at first cos I'm clueless on how to make one -- count, beads to use, design, etc.

But it was one of my kumares who asked me to make one for her, which she'll be giving to a close friend as a gift for her wedding day. So even with the lack of experience, I accepted the order.

She has no specific design in mind that she'd like me to do, that actually made this project a little more challenging for me, but she provided me with the following details I needed to start with: 
  • Theme: Peach colored wedding. (I love the color!)
  • Special request: A heart pendant with the couple's photo.
  • Dainty yet vintage inspired so that it may also serve as an heirloom.
And provided me an encouragement that she trusts my taste and knows it'll turn out great. 


So together with my husband, I went and got the materials needed to make this project (thank God for supportive and caring husbands!).

Out of the info provided, this is what I've come up for my kumare and the couple...

Details:
My kumare wanted a heart pendant where she can place the couple's photo, unfortunately, I couldn't find a heart locket that would look good with the wedding lasso. I wanted to make something more appealing so I got this big heart charm instead. 

Now this love birds I think was really meant for this lasso! This was the last one available that time and I was able to get it while I was about to pay for my items! I used it for the middle part to hold the two cords together. Perfect, right? 

It took me quite an amount of time choosing the right beads, spacers and metal findings to use for this -- but boy am I so happy with everything I have chosen. 
The beads, spacers and metal findings all gave it the dainty yet vintage-y feel that I needed for the project, at the same time.

Since I wasn't able to find a nice locket to hold the couple's photo, I decided to use a setting. 
I asked my kumare if she could send me a photo of the couple and did a transfer of the couple's photo on my Nendo clay... tada! the finished project with the couple's photo!

...attached it just right below the lovebirds.

I used paints to add a vintage finish at the back part of the setting. Too bad I forgot to engrave the couple's names there, it would have been perfect... ☹


I hope my kumare, as well as the couple using it, loved it as much as I enjoyed creating it. 
Another project showered with love.
Related Posts Plugin for WordPress, Blogger...
 

Blog Template by Rockaboo Design Studio