Tuesday, July 17, 2012

Inchies

This is another super late post. 
But like I always say, better late than never, haha (palusot!)

I know I still have a lot to learn when it comes to clay. 
And this is the reason why whenever I have the chance, 
I make it a point to join our guild's challenges.
This way I will be forced to work with a particular challenge in mind.
Somehow the pressure helps in squeezing out my creative juice, haha!

Last March, the challenge introduced to us by Jein was about "Inchies".

What is an inchie, you ask? 
Well basically, they are teeny tiny little pieces of art. They are one inch square in size, which is where they get their adorable name. - C. Clouse of Label Tulip
 This was the first time I heard of it actually.
And after several research with the help of the ever reliable Google, 
I saw just how challenging and interesting the challenge was. 
Immediately I decided to join the swap!

And here's what I came up with...


If you noticed most of what I made were antiqued. 
That's because I played around with my Swellegants and antiquing mediums. 
I also tried doing the technique I learned from one of my mentors, Ghie of Trinket Tales, 
unfortunately I wasn't very successful. 

Here are some of my favorite inchies entries from my guild mates...

by Angie Escalona
by Louise Clayation
by Mavi Arts & Crafts
by Just Claying Around

All lovely, don't you agree?

After seeing their works, 
I honestly felt a little shy of what they are to receive from me.
Nevertheless, I am much more inspired by them to do well on my next projects. ☺


More of the inchies projects here.

Tuesday, June 5, 2012

Frame It!


I made this for our February challenge - It's Worth Framing!
So what's worth framing for me? Of course, The Joyful Crafter with Nendo!!!
I love how this project turned out... reminds me just how much The Joyful Crafter and Nendo works hand in hand ☺ Such cuties!

More of my guild mates' works HERE.

Dragons

I made these for our Clay Friends' Society Philippines' February swap challenge
where we are to sculpt our own version of Dragons.

I don't think they ended up looking how a dragon is supposed to look like
but I am actually okay with how they turned out ☺


I made them into pendants so that the receiver may opt to to attach it as pendant for a necklace or charm for keychain. Hope they end up happy with them as much as I was making them. 

If you also want to check out the cool works of my guild mates, you may click HERE. ☺

Tuesday, May 29, 2012

Product Shots

photo c/o DigitalRev
Amazing shot don't you agree?

I've always wanted to take really great photos -- especially when taking pictures of food and products.
That's basically what I use my camera for, other than capturing family moments 
which since my husband forbids, I rarely share online.

Here's one more awesome shot from DigitalRev...

photo c/o DigitalRev

Super stunning and really inspiring...

There are times when I find myself quite frustrated whenever I'm reading photography books or watching how-to videos. I find the jargons being used a bit complicated. 
However, I'm not sure if its really because of the jargons or I'm just being plain impatient and lazy to learn on my own.

Do you think its about time that I get myself into photography workshops? 
I saw one being conducted all year round somewhere near me... So there goes the temptation, ha!

photo c/o Hyde-End Studios
 I still hear the back part of my brain tell me no, you can't give up on yourself yet. 
I've got quite a number of photography how-to books plus one specific book that concentrates and further explains the buttons and functions of my DSLR camera.  I probably should try to read and concentrate on learning through them first and see what happens before I jump on any basic & advanced photography workshop...  Who knows, I just might nail this alone!

Like all the others, I know that this is a trial and error thing. And I should always remind to ask myself what's there to lose in trying to learn alone first? I wouldn't be wasting any film anyway. 
Since it's all digital, I can just erase the really ugly photos and save the awesome ones, hihi! 
Plus If ever I nail this on my own, I get to save from the workshop fees. I should just take advantage of the books I have on hand. Photography books aren't cheap you know, plus I've got knowledgeable photographer friends too! 
I can just spend the money saved from the workshop and get myself a macro lens.

photo c/o Hyde-End Studios
 Oooohhh... what a really lovely shot!!! 
I'll be able to take pictures like this some day, soon! Now thats the spirit!

So that's my creative goal for the mean time. 
What's yours?

Monday, May 28, 2012

Photo a Day

I am excited...

Excited because for the first time I am joining a group and a special activity which will not only allow me to express creativity in as quick as 2 seconds but will also be a venue to practice more on taking photos!

I am glad I stumbled upon Chantelle's FatMumSlim blog where she hosts the "PHOTOADAY" challenge. So what is photo a day you ask? Well according to Chantelle, the host, it is a fun photo-sharing challenge where you take a photo a day according to what is on the list. There are no rules and no one to say you're worst at taking photos... One need not be super creative or take the most amazing photos but just about sharing! Most of all, everyone is welcome to play!


Now if you want to join me, here's how the challenge works...


  1. Take a photo daily based on the prompt on the list.
  2. Share it on whichever platform you like: Facebook, Instagram, Twitter, Flickr, Blog and/or Pinterest.
  3. Don't forget to place the tag l hashtag "photoadayJUNE".

The challenge will kick start on the 1st up to the 30th of June 2012.
Pretty simple, right? I am sure it'l be a lot of fun too!!!

So every time you get the chance do drop by my site to check out my photo entry for the day...
Better yet, join with me and let's share photos! ☺

Tuesday, March 6, 2012

Cane Challenge: Note Holder

“A cane is a log or cylinder of clay that has a design running through it, so each slice of the cane - the cross-section - contains the design. You can make a large design that’s easy to handle, and then reduce the size of the cane by pressing or rolling it so the cane becomes longer and thinner and the design becomes tiny and delicate.”
For the month of February we, CFSPh, had "I CANE do it" for our monthly challenge. 
The challenge is about creating our own polymer clay canes and turning it into one gorgeous project.

What made the challenge more challenging for me is other than the fact that it's caning and I haven't ever tried making one, I could hardly use my right hand to do anything! And since caning entails a lot of hand pinching for reduction, I had to ask Jein for an extension just so I can submit my entry.  Luckily she said yes.

I had a lot of ideas in mind... Cane projects I'd love to do. But since I know that I can't put so much stress on my right hand while I am having my work-ups to determine how bad my carpal tunnel syndrome problem is, I decided to do something cute but less complicated. 

Below is a step by step photo tutorial in case there's someone like me -- a newbie on caning, who'd like to try it out ☺But first let me show you the black and white canes that I first made but wasn't so happy about plus the crappy projects I made out of it.


At first I thought of following a Retro Flower tutorial through YouTube until I realized just how much black and white clays I've wasted cos I won't be able to use my right hand to reduce it. Instead I tried to make a leaf out of it. It sure looked terrible but I had fun making it, haha!


And then the bull's eye cane technique. I didn't really know what to make of it at first but since it is one of the easiest, I know I had to make it.

Here are the projects I made out of the black and white canes:
A locket
A charm
A label
I posted the three projects on Path and I am happy to see people I barely know liked them. Personally, I wasn't happy about the projects at all. I guess this is why I never really finished assembling them. They're just crappy, lol.

So I decided to make something different... something cuter... something brighter!


What you'll need: 
Clay - white, pink and purple
Cutter


Roll your white clay into a log
Flatten out your pink clay
Wrap around the white clay log with your pink clay
Flatten a thin strip of pink clay just as long as your white log
Cut the log in the middle as shown, be careful not to cut it all the way through
Insert all the way in the middle the thin strip of pink clay, cut the excess
Now for your purple clay, roll it into a log
The pink/white cane will serve as your flower's petals. 
You may opt to make 5 more of the petal cane or just cut it into small equal parts.
Place the petal canes around the purple clay, which serves as your bud, and wrap it with a thin sheet of clay to reduce.

But for this project I decided to do it differently. 

And made a simple flower note/photo holder! 
Since I super love M&Ms, I made a bag of it at the bottom. :-) 

Gorgeous? Nah. I don't think it would fit into that category cos it's really a very simple project but I think it falls under the cutey section! I'm quite satisfied with how it turned out -- I love the colors, I love the design, and I'm happy with its purpose.  

Check out our group's page HERE to see all the other wonderful creations of my guild mates. 
I think my very talented friend Jein of HushPotato will be posting it there this weekend. So feel free to drop by whenever you can. I assure you you'll see lots of amazing projects submitted for the challenge.


PS: Sorry for the crappy pictures. 
I promise to improve. :-) 

Thursday, March 1, 2012

Exposure Triangle

Last night while The hubby was busy playing his online game, I spent the evening in bed learning how to use my DSLR camera. 

It's been several months since I got this camera but I never really had the time play around with it. So last night I took the time to get myself acquainted with the physical buttons as well as the menus and understand + learn about ISO vs Shutter Speed vs Aperture.

I know that if I really want to be able to get attractive photos, I need to understand these three. Thank heavens for the internet because from there I was able to read and learn a lot of things which helped me better understand the difference and correlation of the three.

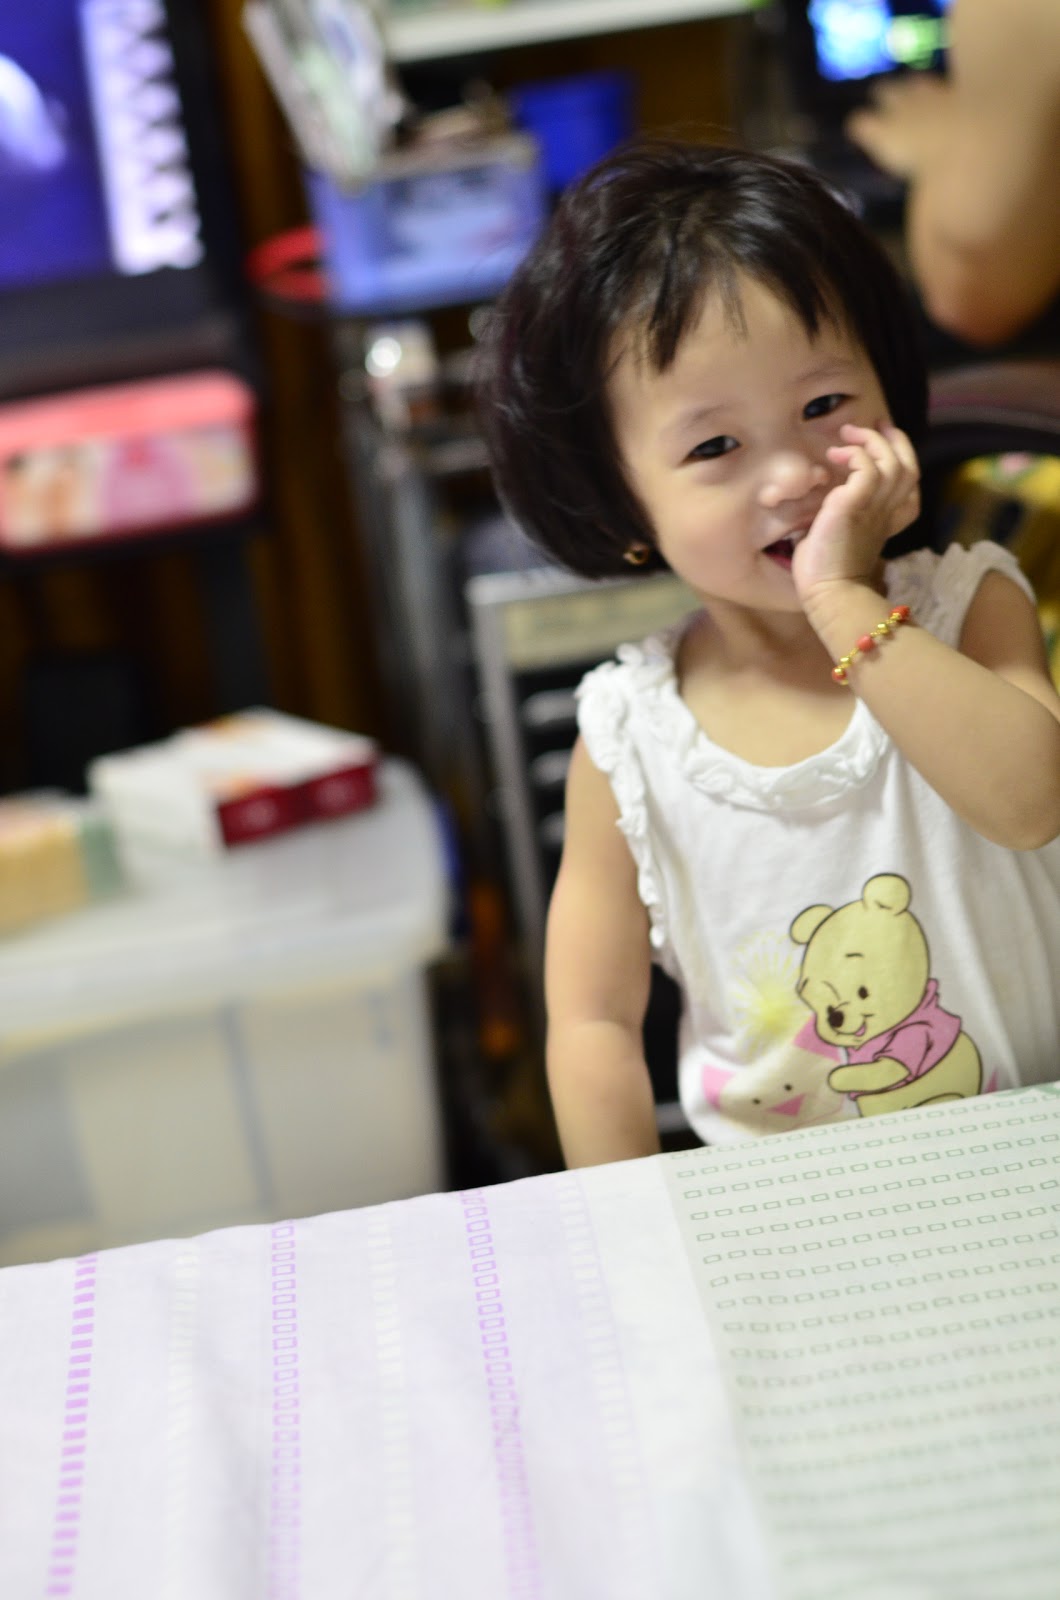
Today was spent shooting and playing around with my cam focusing on the exposure triangle (ISO, shutter speed & aperture). Here are just some of the photos I took today using my 50mm f/1.4G lens.


I used to just experiment with my camera's buttons. Adjusting without really understanding and knowing which ones I need to turn so I get to come up with the type of photos shown above. Sometimes I get lucky, most of the time I get frustrated. So I'm really glad I took the time to read last night cos somehow I now know how to take pretty acceptable pictures using my camera and lens.

Your verdict? Was I able to do a good job? I'm not sure... 
But I must say, I am happy with the photos now compared to the previous ones I've taken. Ooohh, I just spent a night learning about this things... I wonder how much more clear and well lit photos I'll be able to take if I devote one week just focusing on photography!

Do check back once in a while to see how I'm doing with photography, will you?


PS: Thanks to our lovely princess for being such a beautiful and cooperative model. :)
Related Posts Plugin for WordPress, Blogger...
 

Blog Template by Rockaboo Design Studio